Livestreaming
This page explains how to set-up a livestream in various manners.
- Livestreaming
- Livestreaming with OBS Studio
- Livestreaming from the command line under Linux
- Configuring Jitsi for high-quality streams
Livestreaming with OBS Studio
OBS Studio is a leading free software streaming solution, which is supported on Linux, Windows and macOS.
On Windows
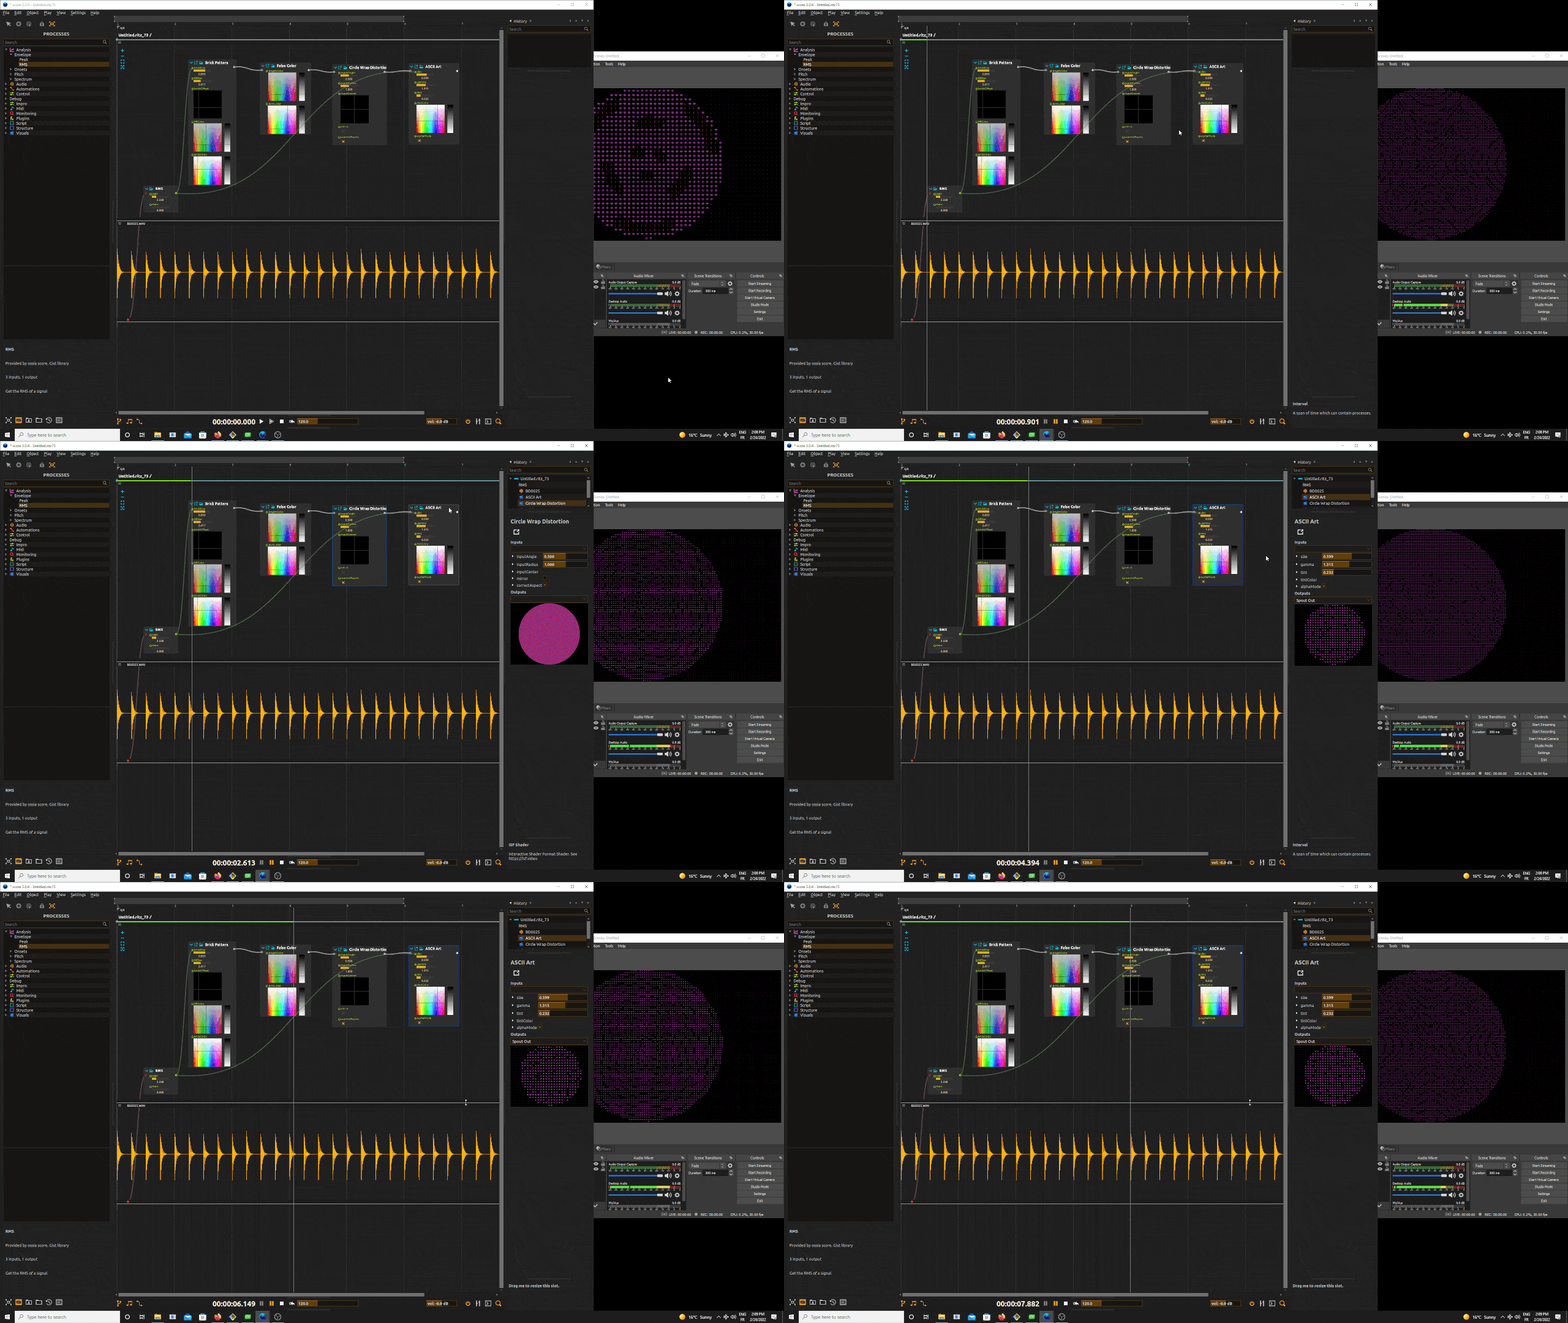
On Windows, we recommend using Spout (available since score 3.0.4) to stream a video output to OBS.
- This requires the following OBS plug-in: Off-World-Live/obs-spout2-plugin.
- Once OBS is launched, add a “Spout2 Input” source.
- In score, add a Spout2 output, and set it as the output of the video effect chain you are working on.
- For streaming audio to OBS, the WASAPI audio output of score should be used, as ASIO drivers may not have loopback capabilities, making OBS unable to record the audio output coming from score.
- Add an “Audio output capture” for getting the sound output of score into OBS.

On macOS
On macOS, we recommend using Syphon (available since score 3.0.4) to stream a video output to OBS.
You will need the free Syphon Virtual Webcam to be able to see Syphon video streams in OBS.
On Linux
We recommend using GStreamer with shmdata and V4L2 to stream a video output from score to OBS ; this will create a virtual camera that can also be used in web browsers, etc.
Streaming video outputs
- Install v4l2loopback, gstreamer, obs-studio. They are available in most distributions’ package repositories.
- Reboot or load the module:
sudo modprobe v4l2loopback card_label="Virtual camera". - Test that a simple pipeline works:
$ sudo gst-launch-1.0 videotestsrc ! v4l2sink device=/dev/video0
If it fails, consider reloading the module with the additional option max_buffers=16.
- Install Shmdata and add it to the GStreamer plug-ins.
This generally means copying
libgstshmdata.soin/usr/lib/gstreamer-1.0/.
- In score, add a Shmdata output device, and set it as the output of the video effect chain you are working on.
- Create a GStreamer pipeline which will pipe the Shmdata output of score into a V4L2 virtual camera. Assuming
/tmp/score_shm_videoas the shmdata socket path, this gives:
$ sudo gst-launch-1.0 shmdatasrc socket-path=/tmp/score_shm_video \
    ! videoconvert \
    ! video/x-raw, format=NV12 \
    ! queue \
    ! v4l2sink device=/dev/video0
Streaming audio outputs
Simply using JACK or PipeWire works ; OBS is able to take such audio input streams through the “JACK input client” source. Then use your favorite routing GUI to route score’s output into OBS.
Livestreaming from the command line under Linux
Livestreaming through RTP with GStreamer
RTP is the standard low-level network protocol for streaming audio and video data.
To stream to RTP as efficiently as possible from score, we are going to leverage the Shmdata plug-in, and GStreamer. We will stream with the classic MJPEG codec for simplicity in this example ; depending on your system other codecs could be more efficient: x264, HEVC, VP8, etc. Refer to the GStreamer documentation to know how to encode in these formats.
First, create a Shmdata video output (writing on the /tmp/score_shm_video path) on score and some video content to stream, then hit play.
Then run GStreamer (the shmdata plug-in is needed):
$ gst-launch-1.0 \
    shmdatasrc socket-path=/tmp/score_shm_video \
  ! videoconvert \
  ! video/x-raw, format=I420 \
  ! queue \
  ! jpegenc \
  ! rtpjpegpay \
  ! udpsink host=127.0.0.1 port=5000
Create the following file (mjpeg.sdp for instance) which represents the stream:
v=0
m=video 5000 RTP/AVP 26
a=rtpmap:26 JPEG/90000;
a=decode_buf=300;
c=IN IP4 127.0.0.1
You can now read the stream, for instance with ffplay, vlc, mpv…
$ ffplay mjpeg.sdp
Note: the format of SDP is:
v=<version>
o= <owner> IN IP4 <IP4 ADDRESS>
c=IN IP4 <IP4 ADDRESS>
s=<STREAM "HUMAN" DESCRIPTION>
m=<media> <udp port> RTP/AVP <payload>
a=rtpmap:<payload> <encoding-name>/<clock-rate>[/<encoding-params>]
a=fmtp:<payload> <param>=<value>;...
Livestreaming audio and video to Twitch (and other RTMP systems)
Here is an example pipeline, which assumes PipeWire for audio:
$ export STREAM_URL="rtmp://mrs02.contribute.live-video.net/app/<YOUR_TWITCH_KEY>"
$ export FPS=30
$ export CHANNELS=2
$ export BITRATE=6000

$ gst-launch-1.0 shmdatasrc socket-path=/tmp/score_shm_video \
    ! videoconvert \
    ! video/x-raw, format=NV12 \
    ! queue \
    ! x264enc bitrate=$BITRATE tune=zerolatency key-int-max=30 \
    ! flvmux streamable=true name=flvmux \
    ! rtmpsink location="$STREAM_URL" \
      pipewiresrc client-name=my-stream \
    ! audio/x-raw,format=F32LE,channels=$CHANNELS \
    ! audioconvert \
    ! faac \
    ! flvmux.
Use the following link to choose a correct stream url: https://stream.twitch.tv/ingests.
If you are using Jack, use jackaudiosrc instead of pipewiresrc, and do not forget to connect the score audio outputs to the PipeWire / JACK object’s inputs
(called my-stream in this example).
Configuring Jitsi for high-quality streams
If you use Jitsi, by default the sound and video quality may be low and optimized for talking rather than music.
You can open your Jitsi room with the following set of parameters after the room name to increase the available video and audio quality, and enable stereo sound (if the browsers used support it):
https://meet.jit.si/<JITSI_ROOM_NAME>#config.disableAP=true&config.disableAEC=true&config.disableNS=true&config.disableAGC=true&config.disableHPF=true&config.stereo=true&config.enableLipSync=false&config.p2p.enabled=false&config.prejoinPageEnabled=false&config.resolution=1080
Note that for these parameters to be taken into account, the room must not have been created yet (that is, no one must have joined https://meet.jit.si/<JITSI_ROOM_NAME> already).