Working with video in score
score embeds a number of video related features: media playing and processing, GPU-based processing or synthesis. Just like with audio files, video files can be thus fully integrated to your scenario along with other processes and distant devices controls.
Supported formats
Score supports all video files formats supported by the FFMPEG library. More info on supported files can be found on the FFMPEG website.
Video setup
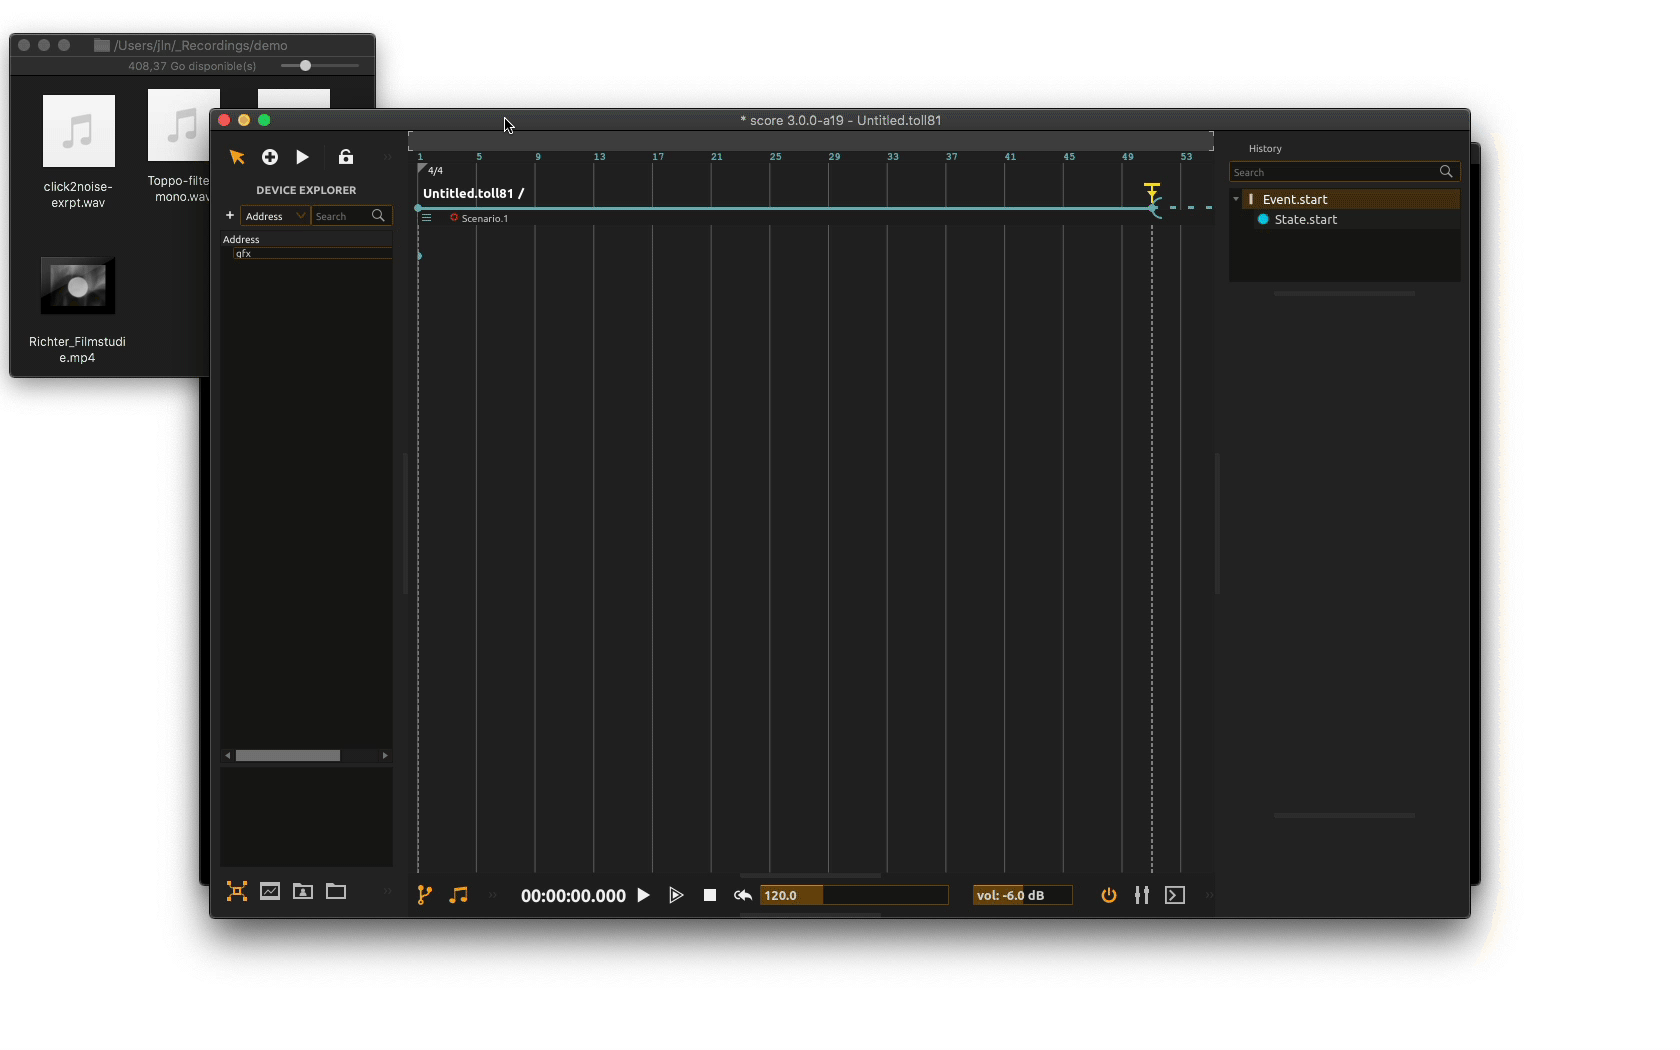
First, we need to setup our video output. To do so, we need to add a video window device to our project by right-clicking in the Device explorer pane and choose Add device from the contextual menu. In the device setup window, mouse over to the video category and choose the Window device. You may define a name for the video window or use the default name and click Add.
When done, score creates a black video window.
You can see in the
Device explorera device with the defined name. You will note that contrary to other devices used so far, this one has no parameters under its root node. This device basically only creates a video output window and rendering context. If the window is closed, it’s possible to open it again with a right-click on the device’s name and then click onshow
Playing a video file
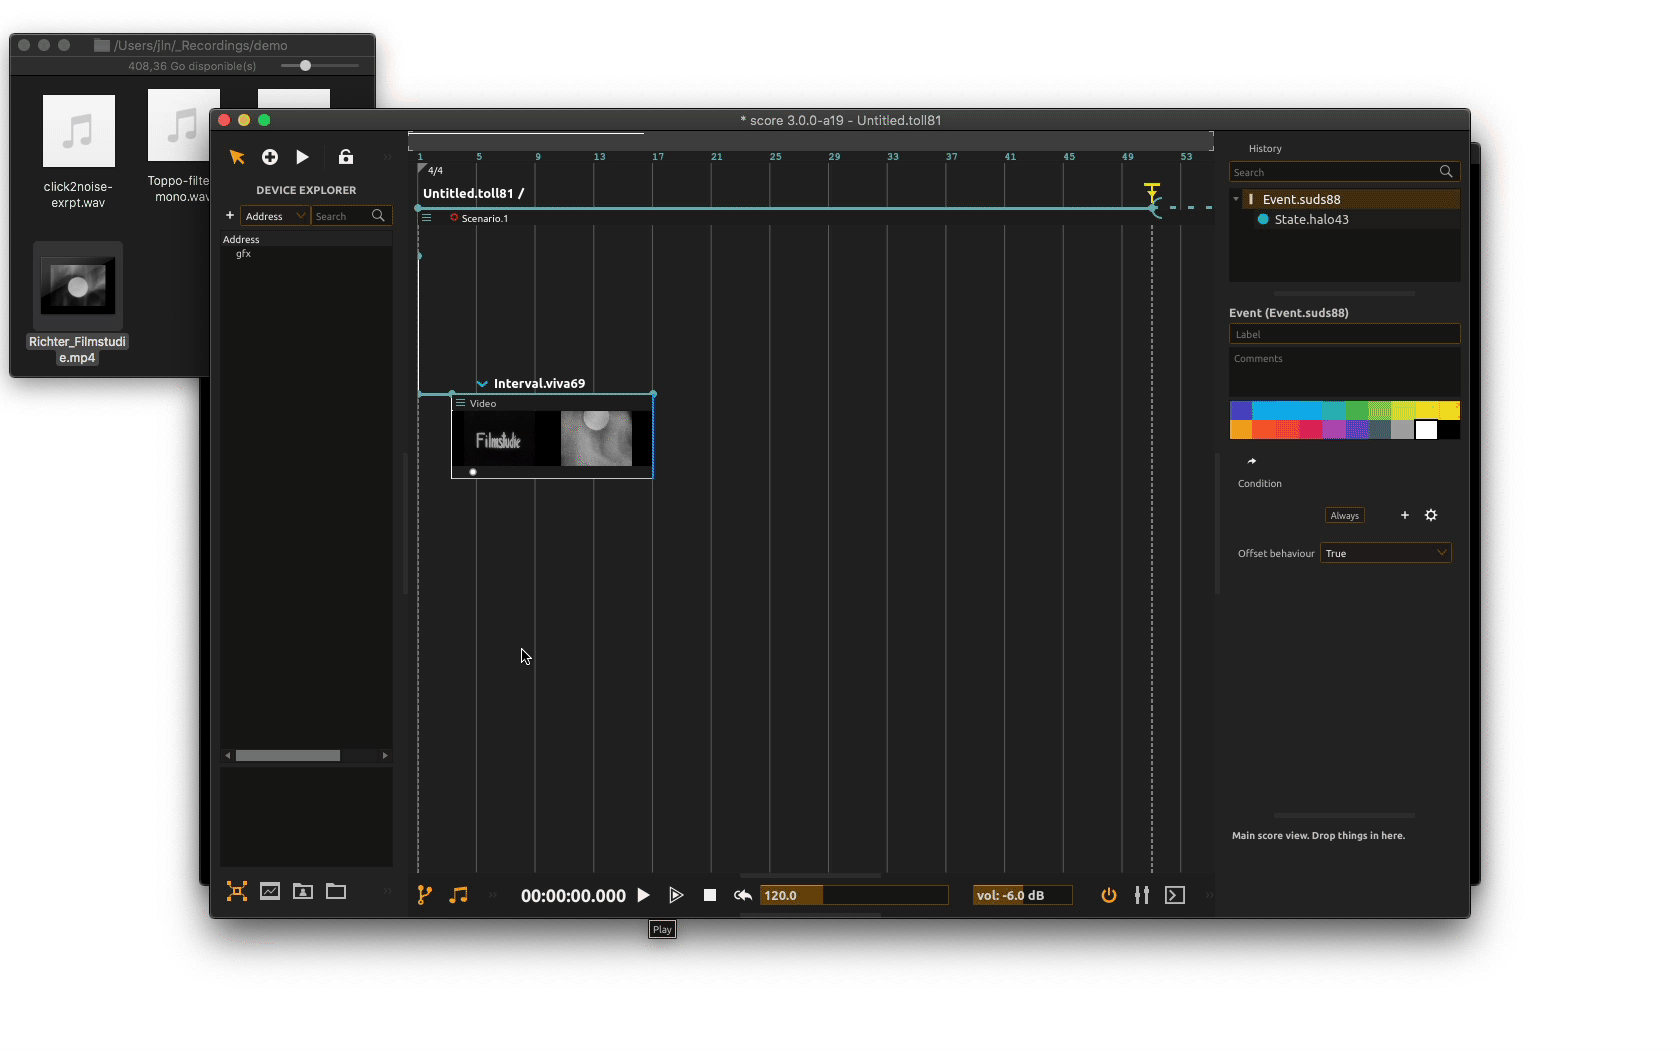
To add a video file to the timeline, just grab your file on disk or in the project library and drop it where you want on the timeline. As seen in the previous section, you may as well drop it on top of some already existing automation’s slot so your video file is aligned.
When done, a slot containing the video file gets created on the timeline. This creates a Video process. You can adjust the length of the slot to fit the part of the video file to play following the different key frames of the video.
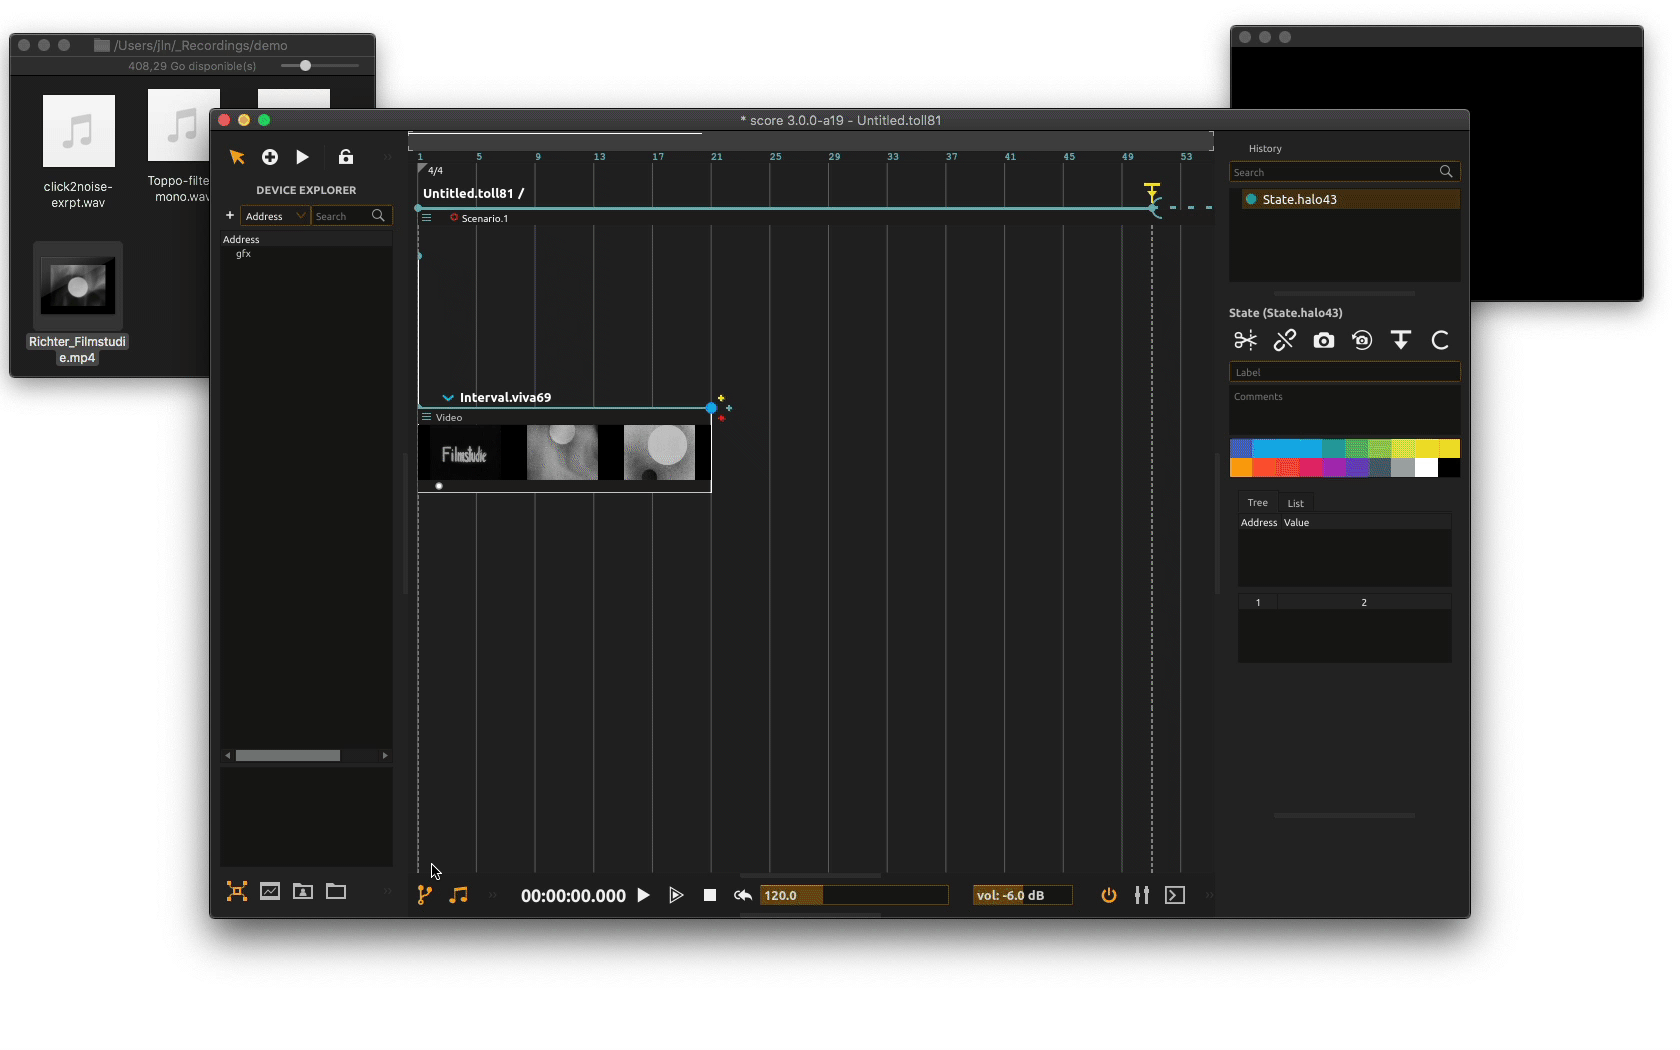
We now need to route our video file to our video window so it gets displayed when execution the scenario. Just as with other processes used so far (automation as well as audio), the video slot has an output port at the bottom: the white filled circle.
Click on the output port to bring its inspector. From there, select your window video device in the dedicated menu. Now when executing your scenario, video file will get properly displayed in window.
Adding video effects
Again, similarly to audio files, you can easily drag some effects. From the Processes Library pane or from the User library pane, select one of the processes in the GFX category. In the example below, we will use the Shader filter provided in score default library.
We now need to route our video file to the video effect rather than from the window. To do so, drag a cable from the video file output port (the white filled circle) to the effect input port (the white framed circle) as shown below. Then from the shader output port inspector, choose GFX as output.
You may now play with the shader parameters using its UI as the scenario is executed or write some automations.