Custom UIs
It is possible to create custom control UIs for a given ossia score through QML and QtQuick, a GPU-accelerated UI language part of Qt.
This allows to replace the entire control UI of ossia with your own personalized UI, while being able to interoperate with the score using the same Scripting API than usual.
It is recommended to be familiar with QML, Qt Quick (for instance by going through the QML Book) and ossia score’s scripting before making your own UI.
UI objects
In addition to the normal console scripting API, accessible through the global Score object, the UI mode introduces the Score.UI namespace with a few useful types:
-
Score.UI.PortSourceallows to read and write input controls from the score. If read, the displayed value will be the current execution value, thus the score has to play. Ports are located by label or by name. -
Score.UI.PortSinkallows to read and write output controls from the score. If read, the displayed value will be the current execution value, thus the score has to play. -
Score.UI.AddressSourceallows to read and write addresses from the device explorer.
Running with a custom UI
For now the UI is passed as a command-line argument to a QML file:
$ ./score --ui path/to/my/ui.qml path/to/my/document.score
Basic example
This example will create a basic UI which interoperates with the following score: download it here.
Save the content of the QML file below as custom-ui.qml and run with:
$ ./score --ui custom-ui.qml custom-ui.score
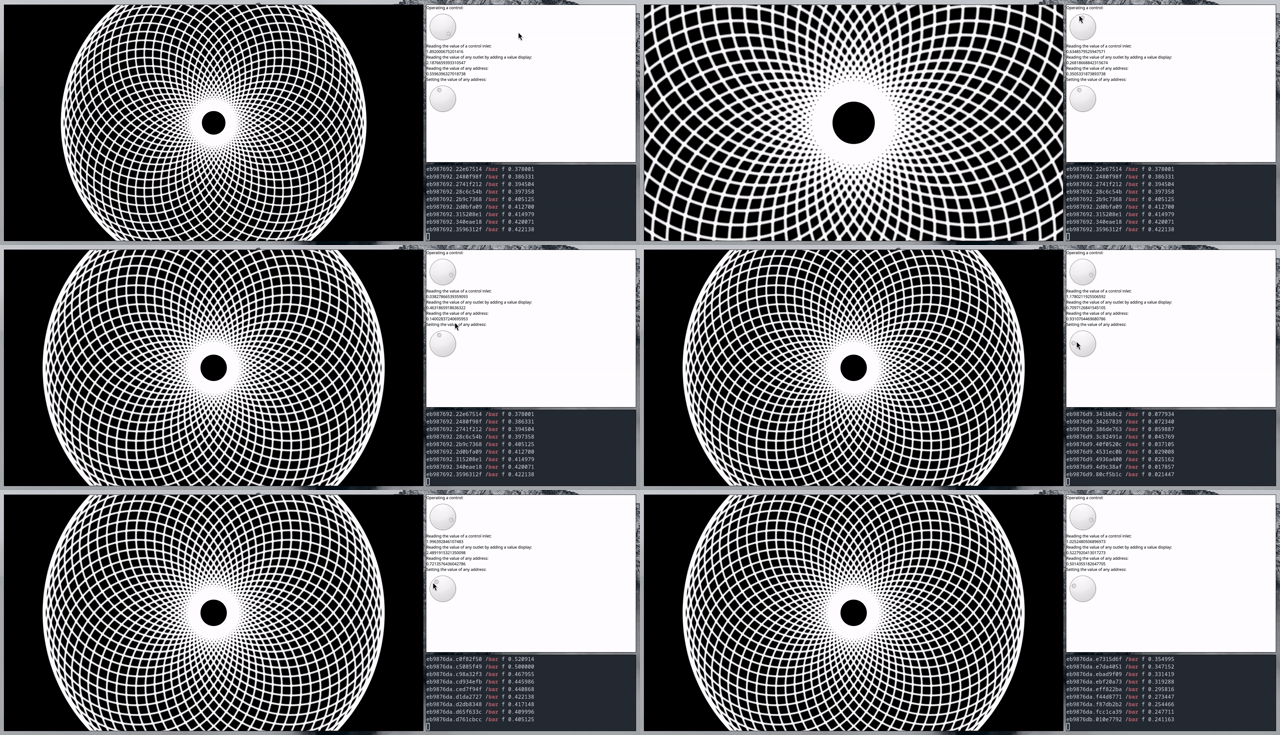
You should see the following display:

The first dial controls a parameter of an ISF shader. The last dial sends messages to the OSC address /bar on port 9996.
import QtQuick
import QtQuick.Controls
import Score.UI as UI

Rectangle {
  color: "white"
  width: 640
  height: 480
  Component.onCompleted: Score.play();

  Column {
    Label { text: "Operating a control:" }
    Dial {
      UI.PortSource on value {
        process: "52.39"
        port: 1
      }
    }

    Label { text: "Reading the value of a control inlet:" }
    Label {
      UI.PortSource on text {
          process: "LFO"
          port: "Ampl."
      }
    }

    Label { text: "Reading the value of any outlet by adding a value display:" }
    Label {
      UI.PortSource on text {
          process: "Value display"
          port: 0
      }
    }

    Label { text: "Reading the value of any address:" }
    Label {
      UI.AddressSource on text {
          address: "OSC:/foo"
          sendUpdates: false
      }
    }

    Label { text: "Setting the value of any address:" }
    Dial {
      UI.AddressSource on value {
          address: "OSC:/bar"
          receiveUpdates: false
      }
    }
  }
}