MIDI input device
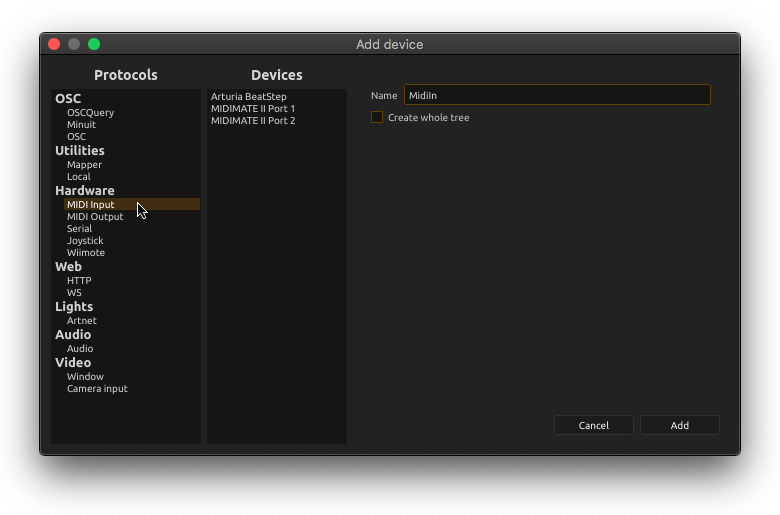
To setup a device using Midi input, select Midi input in the Protocols column of the Add device window.

In the Devices middle column, you can select your desired Midi input device.
If you plugged in your Midi controller after launching score, you may need to restart score so your controller appears in the Devices column.
Optionally, you can set a custom name (or use the default one).
On platform that support it (macOS and Linux), you can create a virtual MIDI device.
Create whole tree option
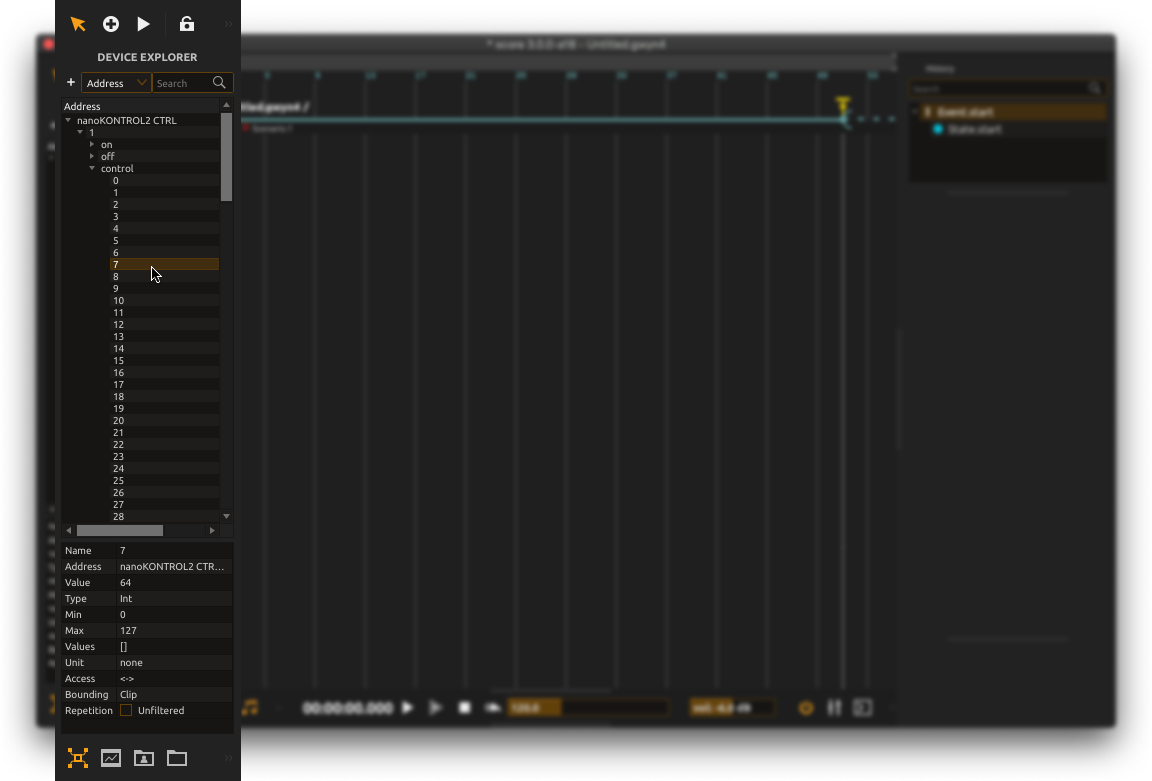
Under the name of your Midi input device, you can toggle on the Create whole tree option. This option will create all possible Midi messages as parameters of the device as illustrated below. Addresses in the namespace will be created using the following format:
<device name>/<channel number>/<message type>/message number>

Should you want not to automatically create a whole Midi namespace (i.e. and use Midi learn instead), just leave the option unset.
Use Midi learn
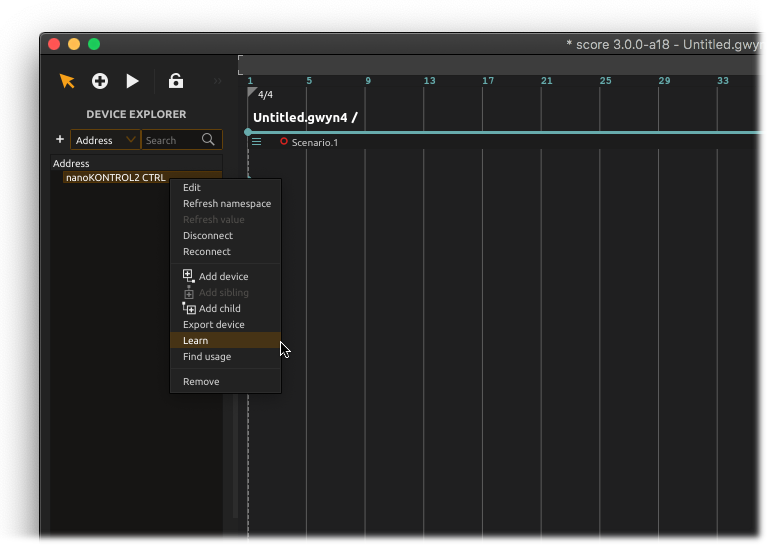
You can use the learn function to build your Midi input namespace with only the needed Midi message (rather than setting up the whole Midi namespace). To do so, once added the Midi device with the Create whole tree option off, in the Device explorer, right-click on your Midi input device name and select Learn from the contextual menu.

This opens score Midi learn window. From then, score will monitor any incoming Midi message and store it under an address following the pattern mentioned above.
When you are done sending the needed Midi message, click Done on the Midi learn window.
All received Midi messages should now appear under your Midi input device name in the Device explorer.